
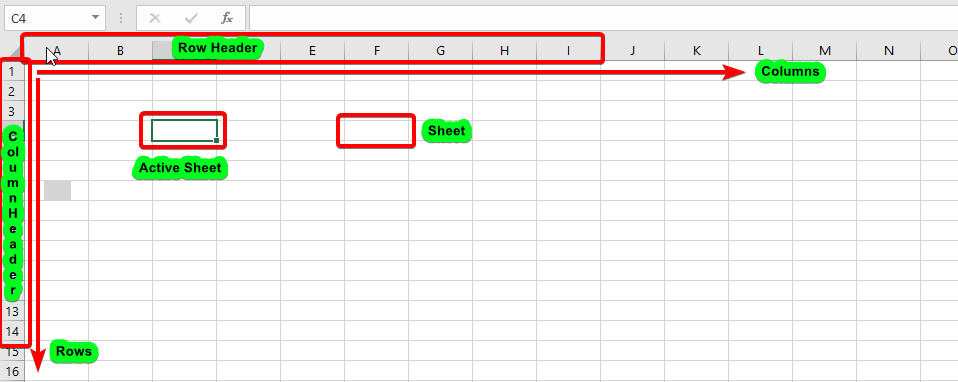
Overview of Excel Worksheet window
What is Worksheet Window in Excel
Each new workbook has one blank worksheet.
you can add new worksheets or delete old ones as a requirement.
By default, a new workbook is named Book1.
And the worksheet it contains is entitled Sheet1.
The worksheet is also known as a spreadsheet.
When you start a new workbook in Excel 2019, it now contains only one worksheet. But you can open as many as you required.
An excel worksheet may have a maximum of 1,048,576 rows and 16,384 columns.
How to Create a Worksheet
When you create a new Excel workbook, it will have one worksheet titled Sheet1. A worksheet is a grid of columns and rows, with columns denoted by letters running across the top of the worksheet and rows denoted by numbers running down the left side of the worksheet.
When dealing with a significant quantity of data, you may create many worksheets to assist in organizing your workbook and make material simpler to access. You may also group worksheets to easily input data to numerous worksheets at once.
Steps to Create a worksheet
- Select the File tab and then New. The Backstage view’s New page appears, showcasing thumbnails of the various templates (see Figure 2 -Point-3 and 4).
- Select Blank workbook from the right pane. A new window with a blank workbook opens.
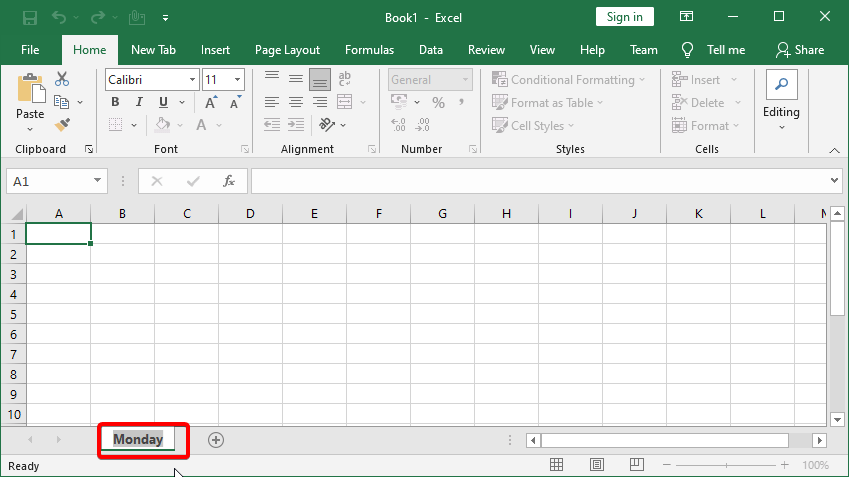
- This blank workbook has by default a worksheet namely Sheet1 as shown in figure 1.
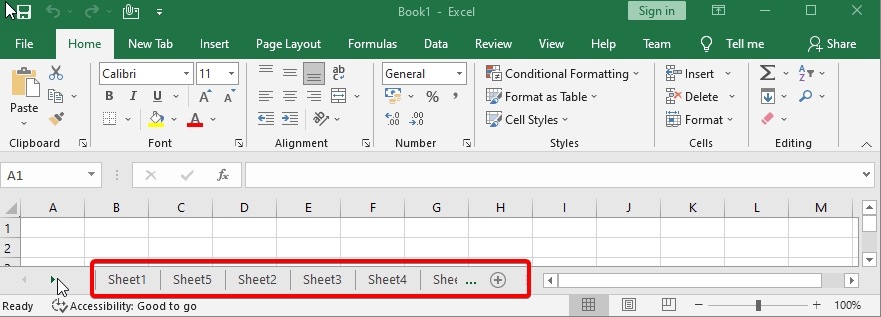
NOTE: By hitting Ctrl+N, you may easily create a new workbook. - Now you can add more Blank worksheets as requires (shown in Figure2 and Figure3).
Basic operations in Worksheet
1. How to Rename a worksheet
When you create a new Excel workbook, it will have only one spreadsheet titled Sheet1. A worksheet can be renamed to better represent its content. In this example, we’ll make a product record that’s categorized by the sale of every Day.
- Right-click the worksheet to be renamed, then choose Rename from the worksheet menu.
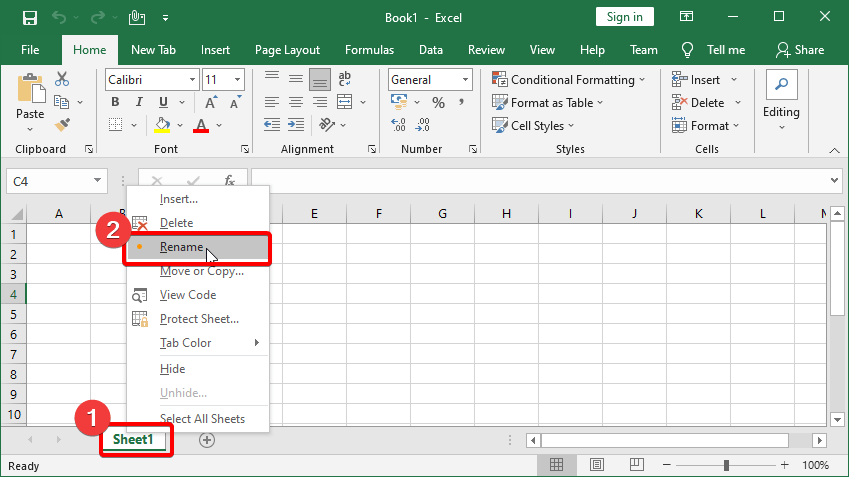
- Give the worksheet the name you choose.
- To exit the worksheet, click anywhere outside of it, or hit Enter on your computer. The worksheet’s name will be changed.
2. How to Insert a new worksheet
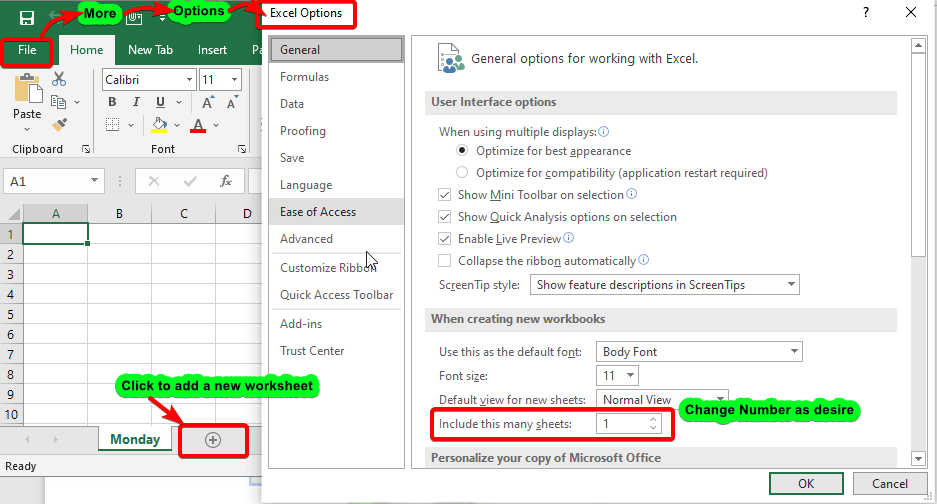
- Find and click the New sheet button.
- A new, blank worksheet will be shown.
Note: To modify the default number of worksheets, go to Backstage view, click Options, and then select the number of worksheets you want to include in each new workbook.
3. How to Copy a worksheet
Excel allows you to replicate an existing worksheet if you need to duplicate the information of one worksheet to another.
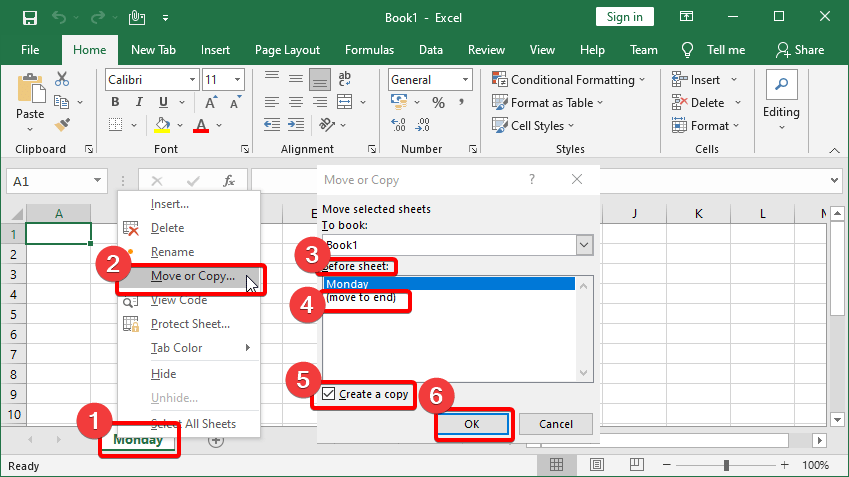
- Right-click the worksheet to be copied and select Move or Copy from the worksheet menu.
- The Move or Copy dialogue box will be shown. In the Before sheet: field, specify where the sheet should appear. In this example, we’ll choose (move to end) to position the worksheet to the right of the existing worksheet.
- Tick the Create a copy box, then click OK.
- A copy of the worksheet will be made. It will have the same name as the original worksheet and a version number.
Note: You may even duplicate a worksheet to a separate workbook completely. From the to book: drop-down menu, you may choose any currently open workbook.
4. How to Move a worksheet
You may need to relocate a worksheet from time to time in order to organize your workbook.
- Select the worksheet to be moved. The pointer will transform into a little worksheet icon.
- Hold down the mouse button and drag it until a little black arrow appears over the desired spot.
- Let go of the mouse. The worksheet will be repositioned.
5. How to Delete a worksheet
To Delete the sheet, follow the given steps
- Right-click the worksheet to be deleted and select Delete from the worksheet menu.
- Your workbook’s worksheet will be removed.
- Alternatively, from the Cells Group’s Home Tab, select Delete and then Delete Sheet.
Note: The Undo button will not reverse the deletion of a worksheet.
6. How to Change the colour of a worksheet
You may alter the color of a worksheet to help organize it and make your workbook simpler to browse.
- Right-click the selected worksheet and select Tab Color from the context menu. The Color menu will be shown.
- Choose the desired color. As you move your cursor over different selections, a live preview of the new worksheet color will emerge. In our case, we’ll go with Red.
- The color of the worksheet will be changed.
Note: When the worksheet is chosen, the color of the worksheet becomes much less obvious. Choose another worksheet to notice how the color changes when the worksheet is not chosen.
Moving Around worksheet and Making Selections
This section explains how to move around worksheets and pick cells, rows, and columns, among other things.
How to navigate through a worksheet
A worksheet can be accessed in a variety of ways. You may navigate through the worksheet in any way by using the mouse and the scroll bars. You can move from cell to cell, up or down one page at a time, or to the first or last used cell in the worksheet by using the keyboard navigation keys.
The Scrolling Buttons
These buttons allow you to scroll through the display of sheet tabs one at a time or to see the first and final grouping of sheet tabs.
tabs and can be found to the left of the sheet tabs.
The Scroll Bars
Your spreadsheet may include more data than you can view on the screen at the same time. Depending on whatever area of the page you wish to see, click, hold, and drag the vertical or horizontal scroll bar.
Selecting Cells, Rows, and Columns
To begin working with a cell, you must first pick it. You may rapidly pick ranges, rows, columns, or the whole worksheet to deal with more than one cell at a time.
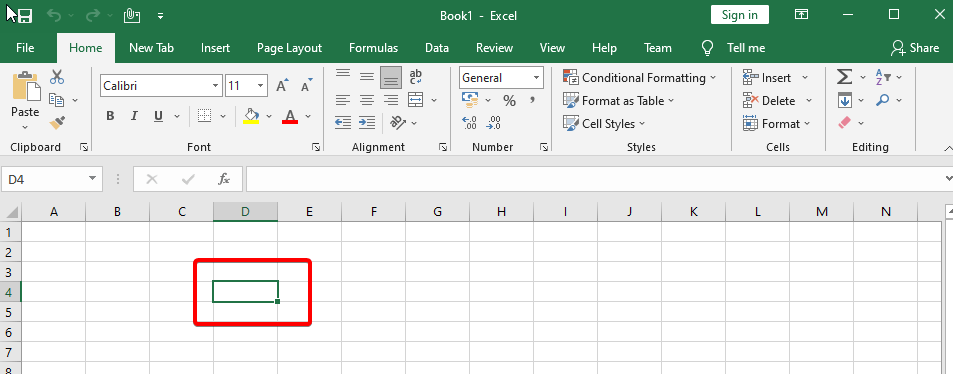
How to select a single cell:
Click on the desired cell called Active cell.
How to select a range of cells:
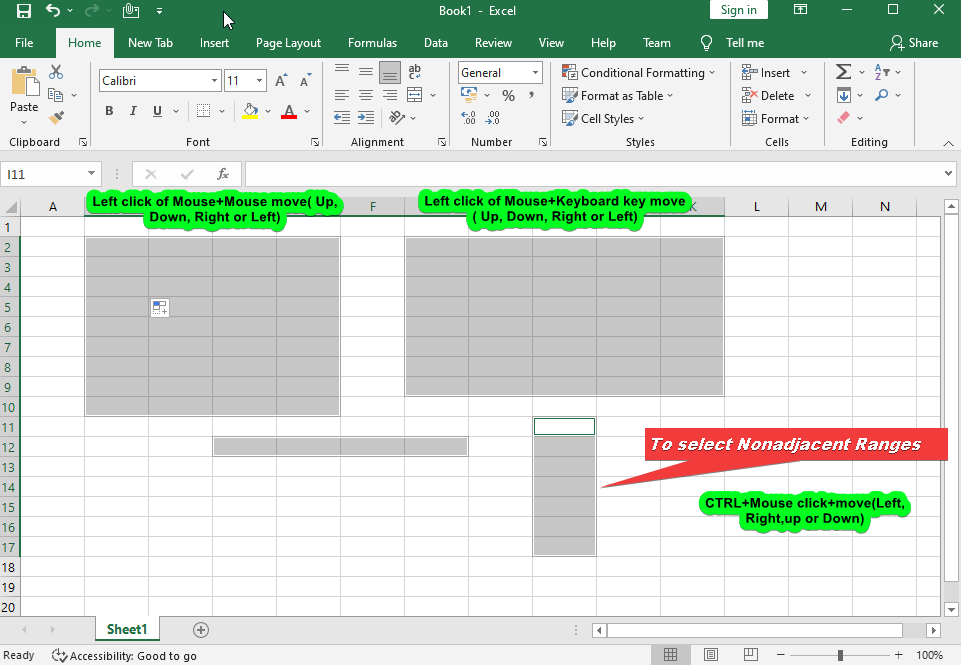
How to select all cells in a worksheet:
In the upper-left corner of the worksheet, click the Select All button .
Alternatively, use Ctrl+A.
THANK YOU FOR READING. PLEASE PROVIDE YOUR VALUABLE FEEDBACK.


You made some good points there. I looked on the internet for the issue and found most persons will agree with your blog.
Wonderful blog! I found it while browsing on Yahoo News. Do you have any tips on how to get listed in Yahoo News? I’ve been trying for a while but I never seem to get there! Appreciate it
hello!,I really like your writing very a lot! percentage we be in contact extra approximately your post on AOL? I require an expert in this area to resolve my problem. May be that’s you! Having a look ahead to look you.
Hiya, I’m really glad I have found this information. Nowadays bloggers publish only about gossips and internet and this is actually annoying. A good website with exciting content, that’s what I need. Thanks for keeping this website, I’ll be visiting it. Do you do newsletters? Can’t find it.