Ultimate Excel Pivot Table
Excel Pivot Table EXPLAINED in 10 Minutes (Productivity tips included!)
Hey there, Excel newbie Are you tired of spending hours analyzing data in Excel? Do you want to learn a powerful tool that can help you summarize and analyze large datasets in minutes? Look no further Excel Pivot Tables are here to save the day!
In this comprehensive guide, we’ll cover everything you need to know about Excel Pivot Tables, from the basics to advanced techniques. By the end of this article, you’ll be a Pivot Table pro, ready to take your data analysis skills to the next level.
What is an Excel Pivot Table?
So, what is an Excel Pivot Table? In simple terms, a Pivot Table is a powerful data analysis tool that helps you summarize and analyze large datasets. It’s like a magic wand that transforms your data into meaningful insights.
A Pivot Table consists of four main components:
- Row Labels: These are the fields that you want to display as rows in your Pivot Table.
- Column Labels: These are the fields that you want to display as columns in your Pivot Table.
- Values: These are the fields that you want to summarize and analyze in your Pivot Table.
- Filters: These are the fields that you want to use to filter your data in your Pivot Table.
How to Create a Pivot Table in Excel
Creating a Pivot Table in Excel is easier than you think. Here are the steps:
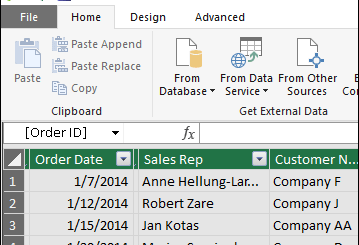
- Select Your Data: Select the entire dataset that you want to analyze.
- Go to the Insert Tab: Click on the Insert tab in the ribbon.
- Click on PivotTable: Click on the PivotTable button in the Tables group.
- Choose a Cell: Choose a cell where you want to place your Pivot Table.
- Click OK: Click OK to create your Pivot Table.
Pivot Table Fields
Now that you’ve created your Pivot Table, it’s time to add some fields. Here are the steps:
- Drag and Drop: Drag and drop the fields you want to add to your Pivot Table from the Fields pane to the Row Labels, Column Labels, Values, and Filters areas.
- Right-Click: Right-click on a field to change its properties, such as its name or format.
Pivot Table Examples
Let’s take a look at some examples to make things more concrete.
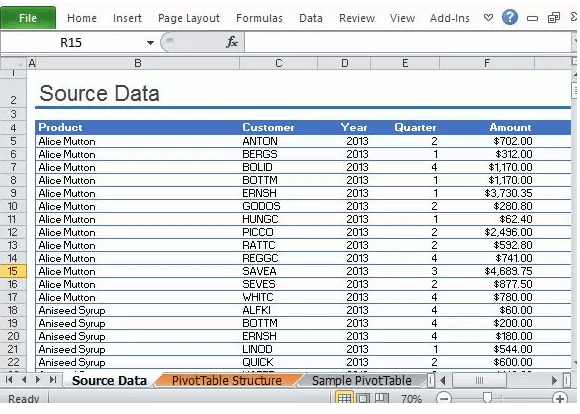
Example 1: Sales Data Analysis
Suppose you have a dataset of sales data with the following fields:
- Region: The region where the sale was made.
- Product: The product that was sold.
- Sales: The amount of sales.
You can create a Pivot Table to analyze the sales data by region and product. Here’s an example:
| Region | Product | Sales |
|---|---|---|
| North | A | 100 |
| North | B | 200 |
| South | A | 50 |
| South | B | 150 |
Example 2: Customer Data Analysis
Suppose you have a dataset of customer data with the following fields:
- Customer ID: The unique ID of each customer.
- Name: The name of each customer.
- Age: The age of each customer.
- Country: The country of each customer.
You can create a Pivot Table to analyze the customer data by age and country. Here’s an example:
| Age | Country | Count of Customers |
|---|---|---|
| 18-24 | USA | 10 |
| 18-24 | UK | 5 |
| 25-34 | USA | 20 |
| 25-34 | UK | 15 |
Pivot Table Tips and Tricks
Here are some tips and tricks to take your Pivot Table skills to the next level:
- Use Multiple Fields: Use multiple fields to create a more detailed analysis.
- Use Filters: Use filters to narrow down your data and focus on specific areas.
- Use Conditional Formatting: Use conditional formatting to highlight important trends and patterns.
- Use Pivot Charts: Use Pivot Charts to visualize your data and make it more engaging.
Productivity Tips
Here are some productivity tips to help you work more efficiently with Pivot Tables:
- Use Shortcuts: Use shortcuts to quickly create and modify your Pivot Tables.
- Use Templates: Use templates to quickly create common Pivot Tables.
- Use Macros: Use macros to automate repetitive tasks.
Conclusion
In this comprehensive guide, we’ve covered everything you need to know about Excel Pivot Tables, from the basics to advanced techniques. By following these tips and tricks, you’ll be able to create powerful Pivot Tables that help